
Setup
The following steps need to be performed to implement your custom logic when writing to a target system.
Topics
Install and configure the Add-on
Download packages from portal
Active Contract
To be able to download the installation/upgrade add-on or any support package you will need to have an active contract. If you don't, check the Licensing Guide
Follow these steps to download the Add-on and the support packages available:
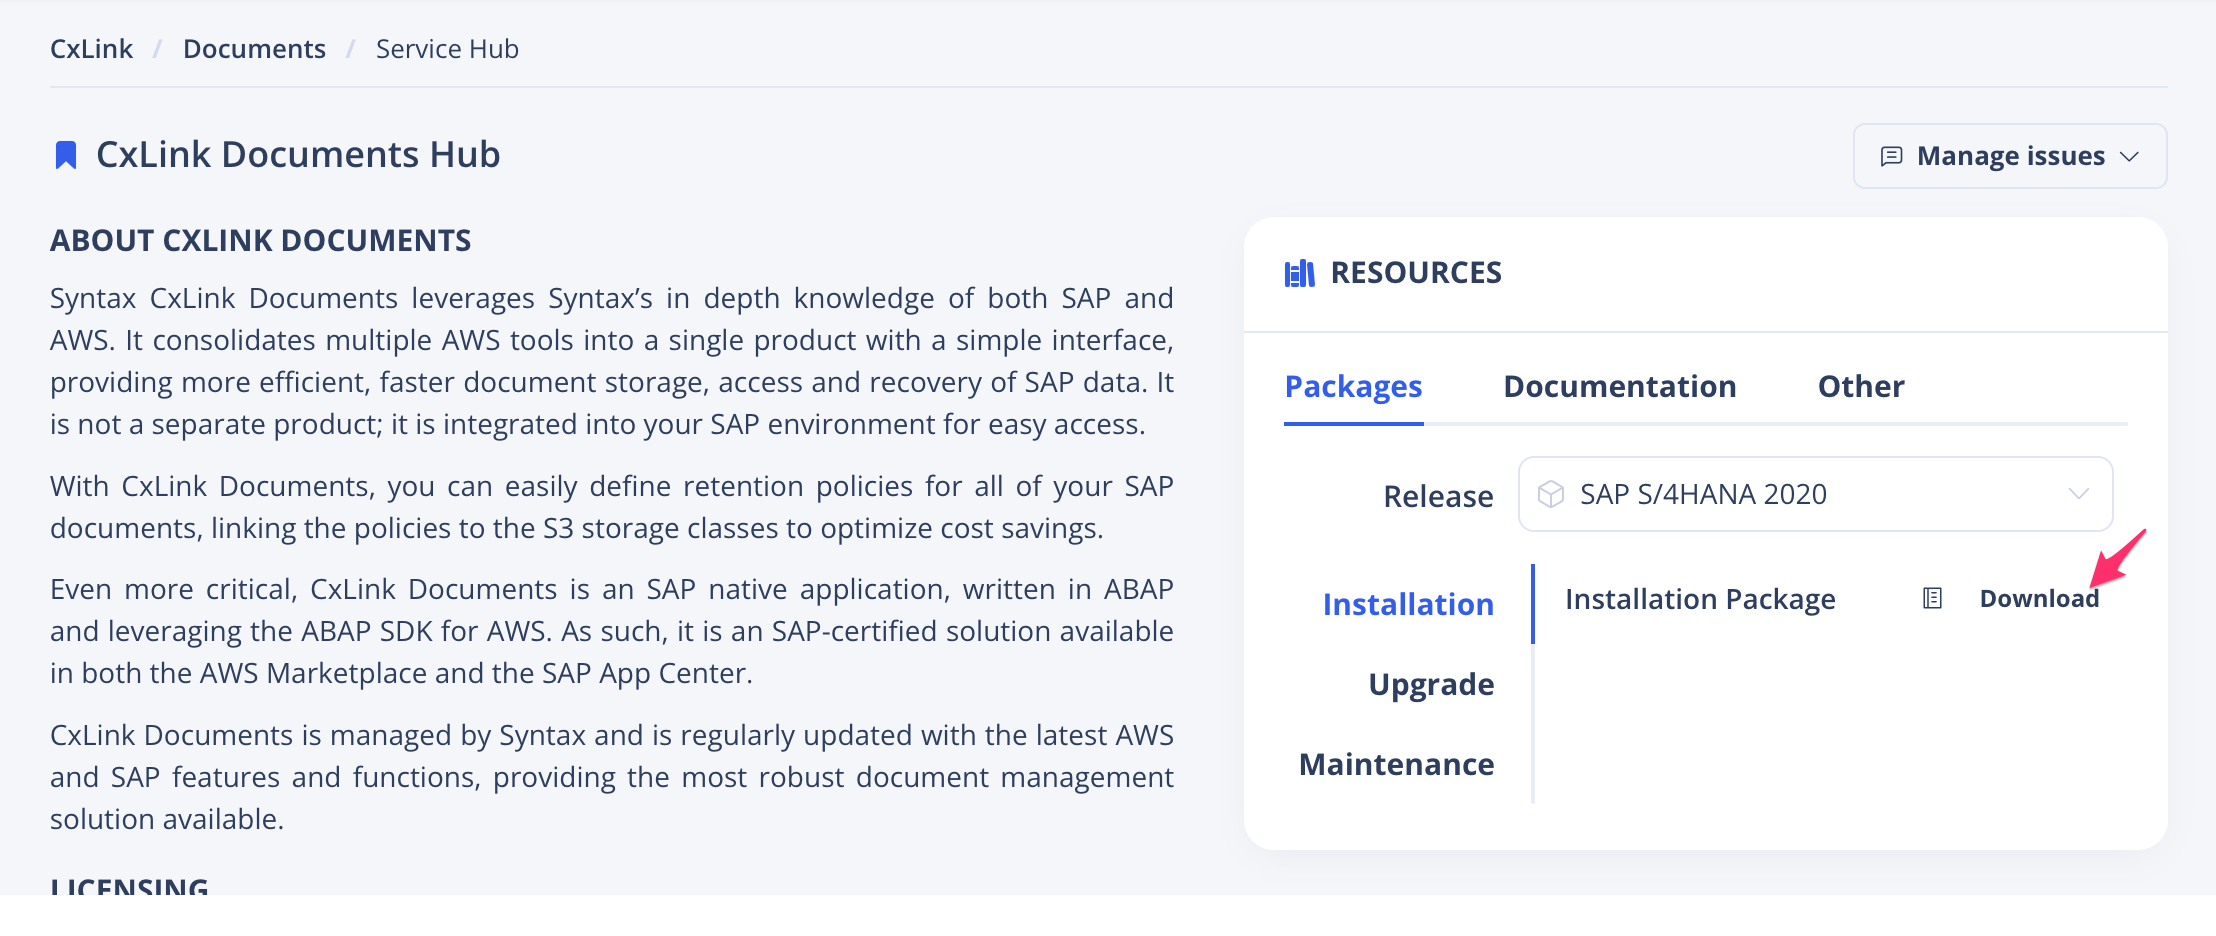
From the CxLink ABAP Suite Service Hub in the CxLink Portal, choose Packages under Resources section.
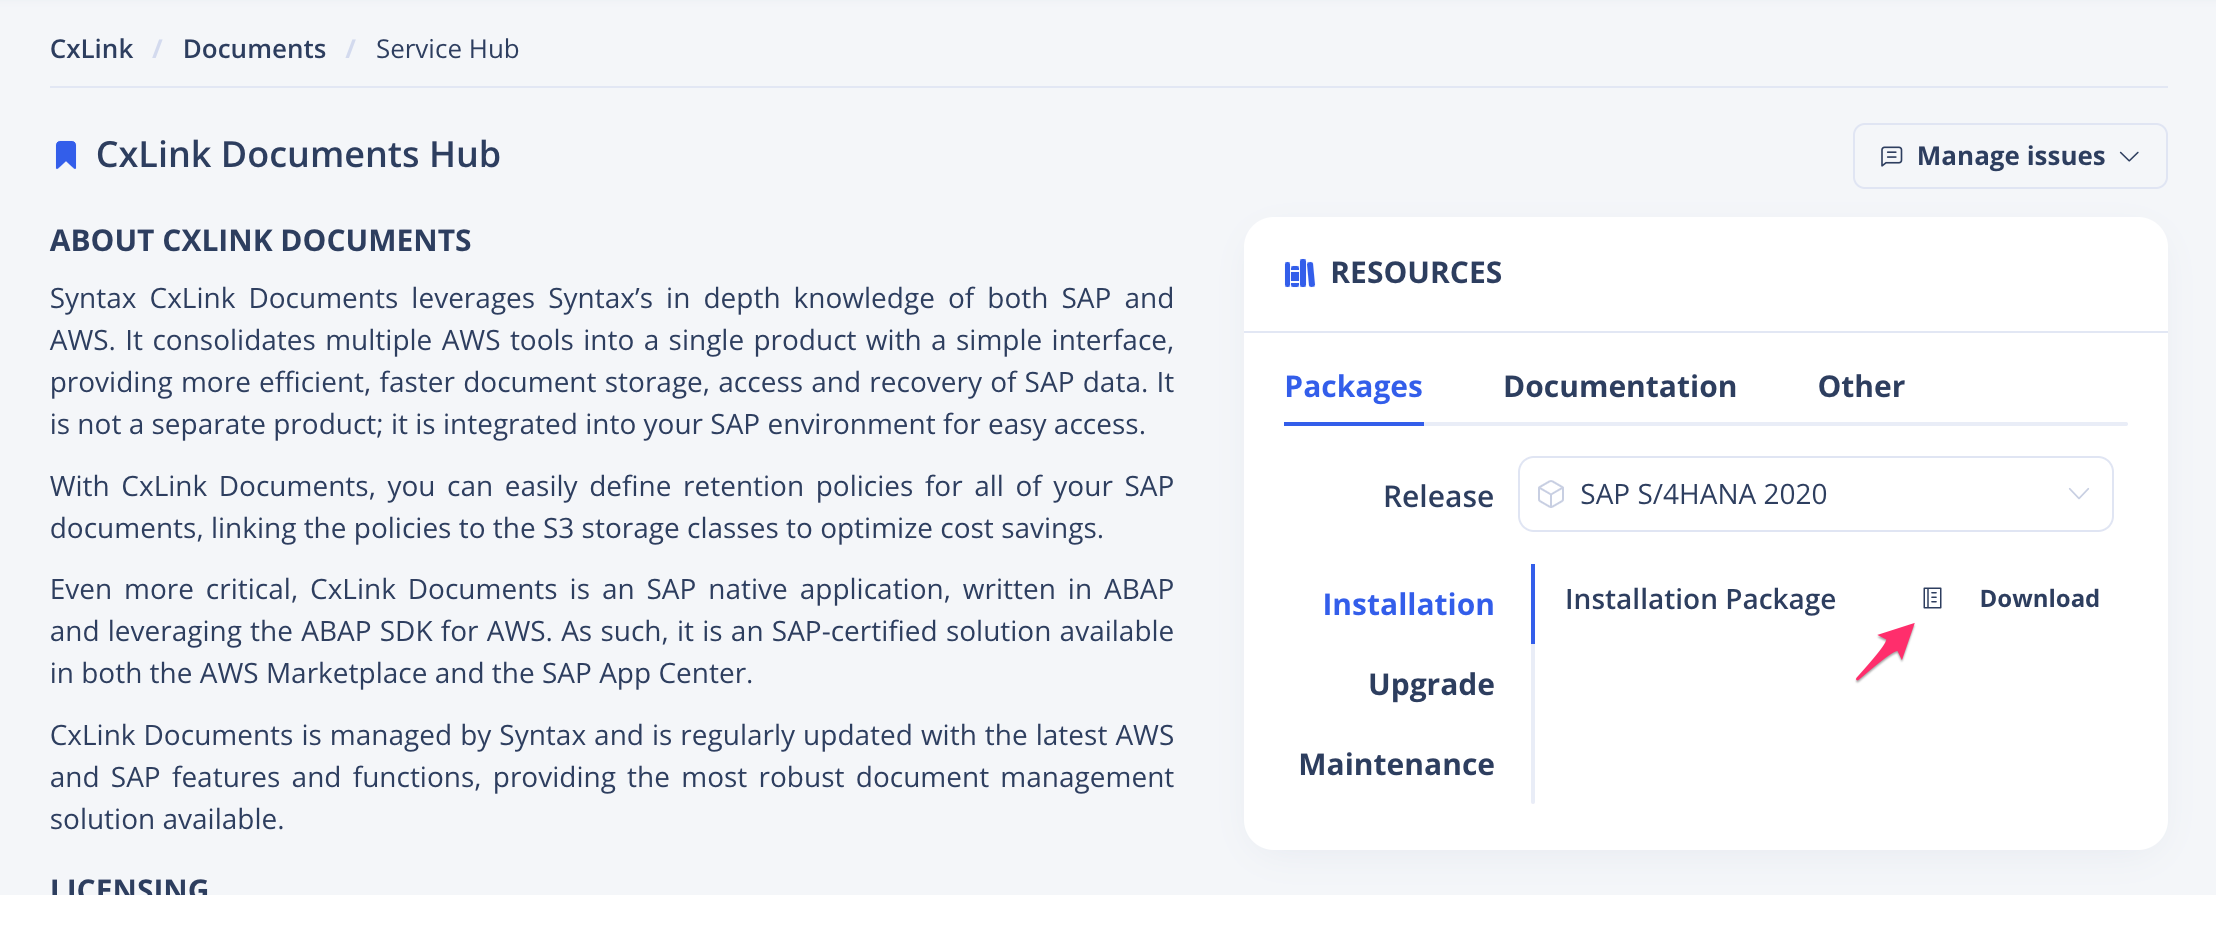
Select your Release version, ensure that you are in the Installation section and choose Download the package.
Open or download the Release Notes to find out the Installation or Upgrade Password
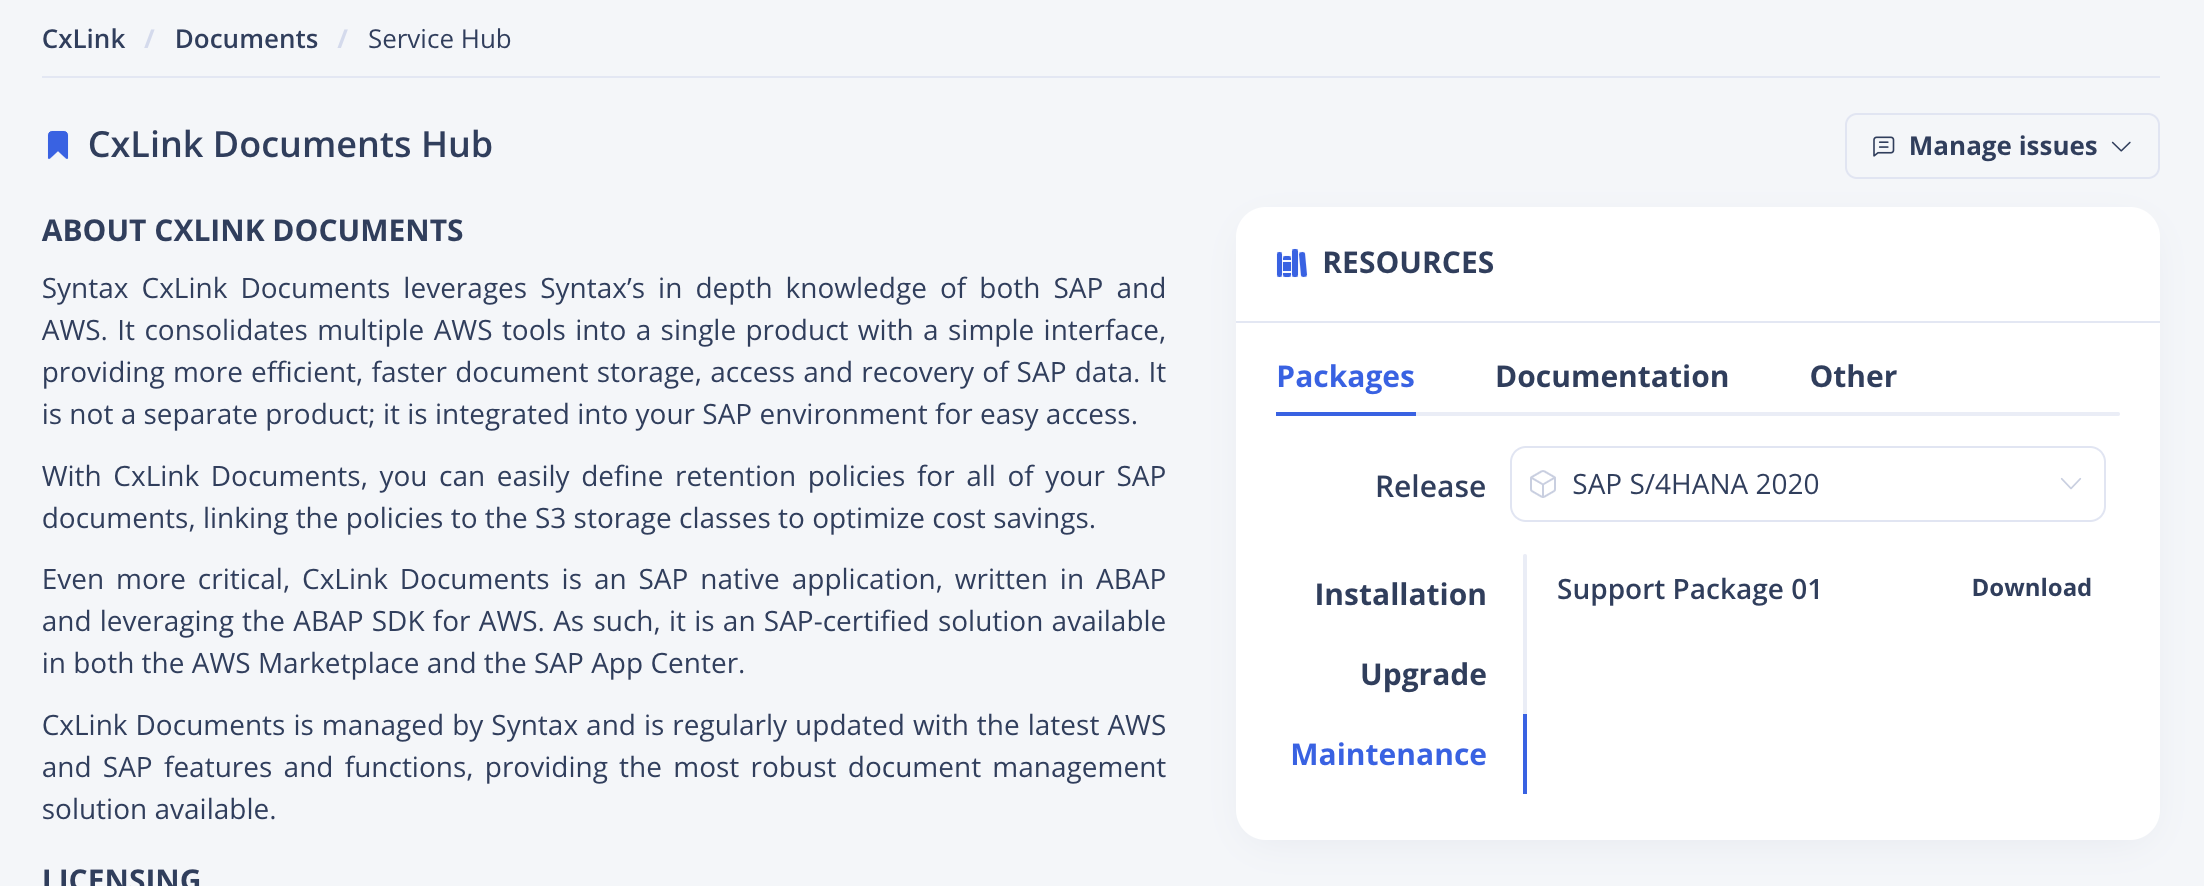
Download the available Support Packages from the Maintenance section
Install the add-on
SAP Help Page
You can find additional information in the SAP Add-On Installation Tool official documentation.
Follow the next guidelines to install the add-on in your server.
Log in to the client 000 of your SAP Server with a user with enough permissions.
Call transaction SAINT.
Load the Installation and Support Packages into your system. You can find additional information in the SAP Help Portal
Define the installation queue. Select the LNKAWS add-on package to be installed.
Leave start options as default or check those needed for your SAP server.
Install the queue. Installation starts straight after you have confirmed the start options.
Check for the logs to confirm that the add-on has been successfully installed.
Post-Installation Steps
Activate Webdynpro dependencies
Ensure that the following services are active and run in the SICF transaction:
Call transaction SICF
Search for the following services and Activate them if not already active:
- /default_host/sap/bc/webdynpro
- /default_host/sap/public/bc/ur
- /default_host/sap/public/bc/icons
- /default_host/sap/public/bc/icons_rtl
- /default_host/sap/public/bc/webicons
- /default_host/sap/public/bc/pictograms
- /default_host/sap/public/bc/webdynpro
- /default_host/sap/bc/webdynpro/lnkaws/wd_rocketsteam_s3
- /default_host/sap/bc/awsconnector_s3.
- Repeat the process for all services
Create SICF Service User
Login to client 000 in your SAP Server
Call transaction /N/LNKAWS/SICF
Select one of the following options to create/add the user that will be
- User Proposal. This option will create a custom user LNKAWSICFUSE in your SAP server and attached to the SICF service.
- I specify the user. You can decide the name of the custom user (It will create the user if it does not exist)
- I have Central User Administration. You will provide with an existing user and password to configure the SICF user.
Once executed you should expect an output as the one below:
 Creation of SICF node with service awsconnector_s3
 --------------------------------------------------
 User LNKAWSICFUSE created
 SICF node awsconnector_s3 activated.
Add Authorizations to Profile
Finally, ensure that the generated user has the proper authorizations:
- Open transaction SU02
- Open profile
/LNKAWS/SICF - Click on
Create work area for profiles - Create New Profile
- Enter a descriptive text
- Select single profile in Profile Type
- In the Consisiting of Authorization list, add a new line with the following values:
- Object: S_RFC_ADM
- Authorization: /LNKAWS/AUTH
- Double-click in the Authorization field
- Add a descriptive text and Press enter
- In the Authorization list, add the following values by using the Maintain values... button:
| Field Text | Field Name | From | To |
|---|---|---|---|
| Activity | ACTVT | 03 | 03 |
| Internet Communication Framework Values | ICF_VALUES | '' | '' |
| Logical Destination | RFCDEST | LNKAWS* | LNKAWS* |
| Type of entry in RFCDES | RCTYPE | G | G |