
Initial Setup
The following steps need to be performed to implement your custom logic when writing to a target system.
Topics
Install and configure the Add-on
Download packages from portal
Active Contract
To be able to download the installation/upgrade add-on or any support package you will need to have an active contract. If you don't, check the Licensing Guide
Follow these steps to download the Add-on and the support packages available:
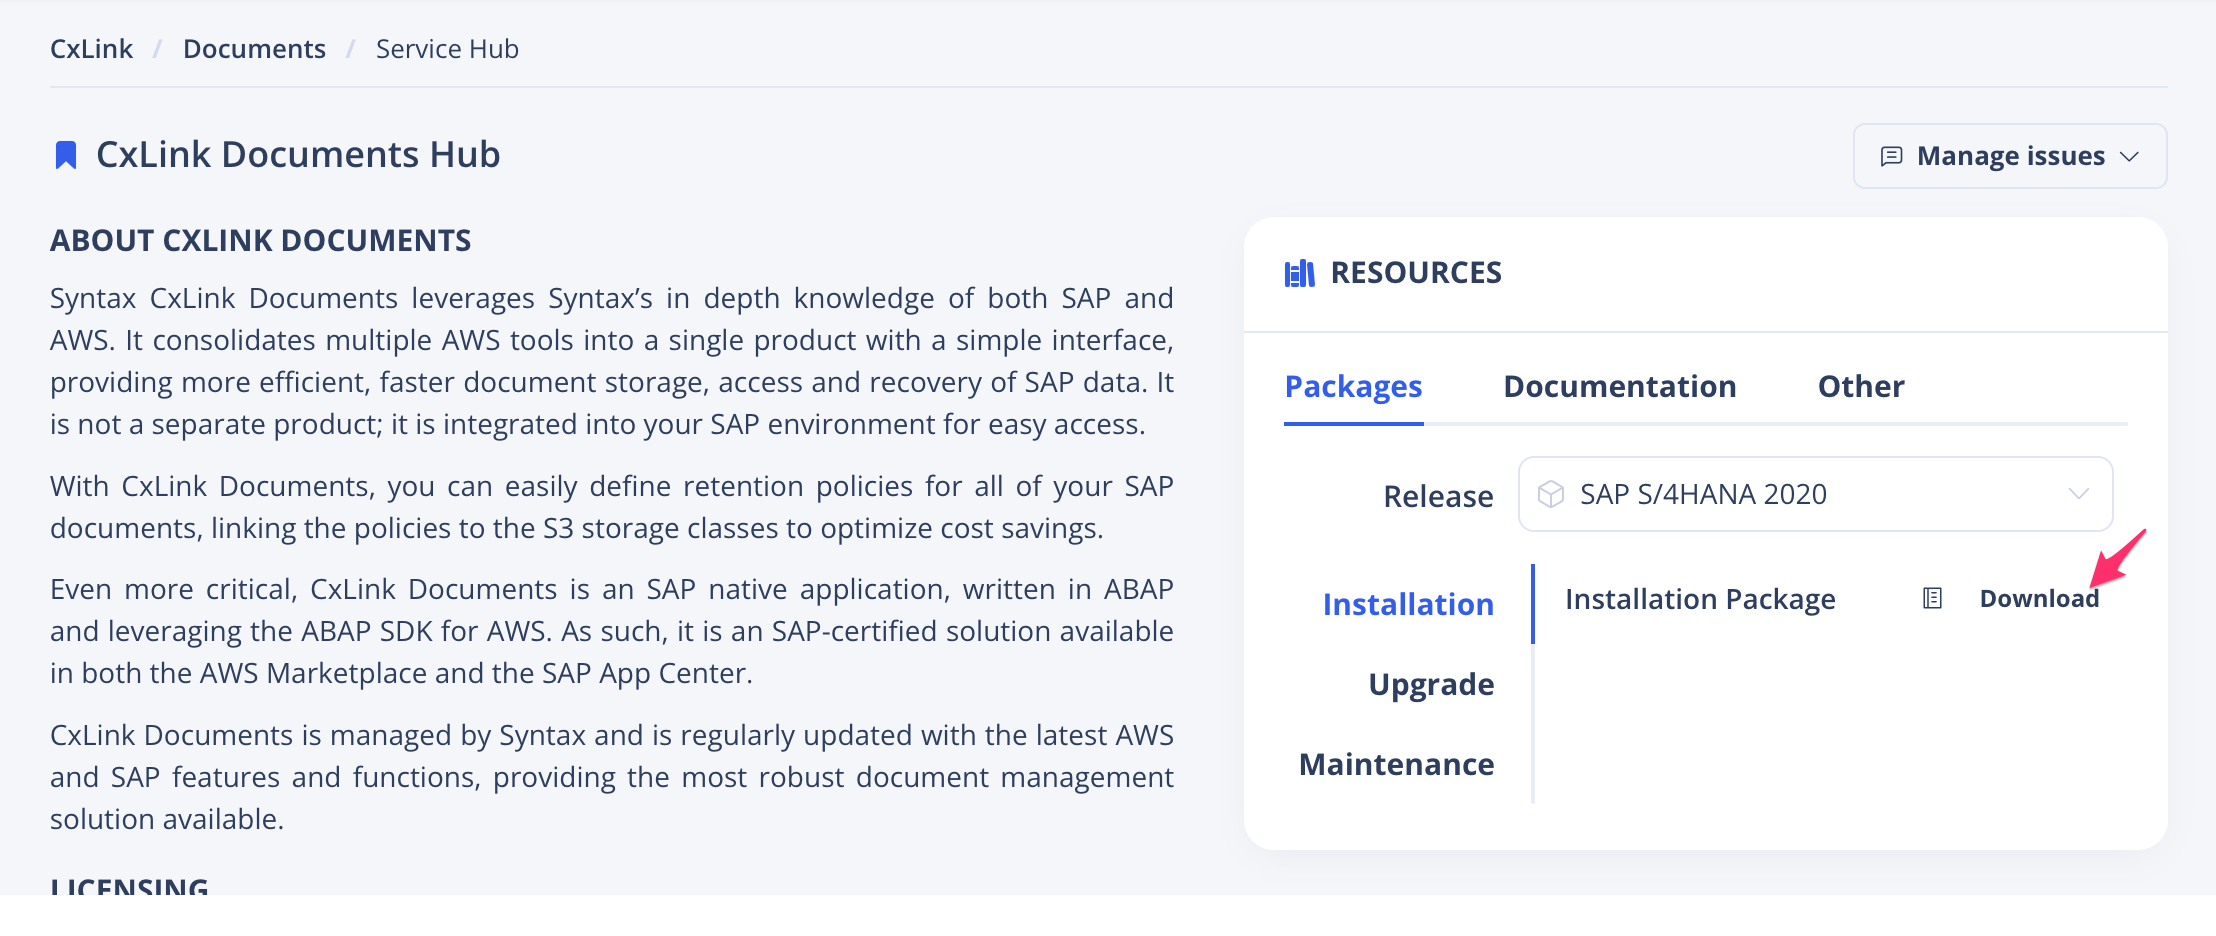
From the CxLink ABAP Suite Service Hub in the CxLink Portal, choose Packages under Resources section.
Select your Release version, ensure that you are in the Installation section and choose Download the package.
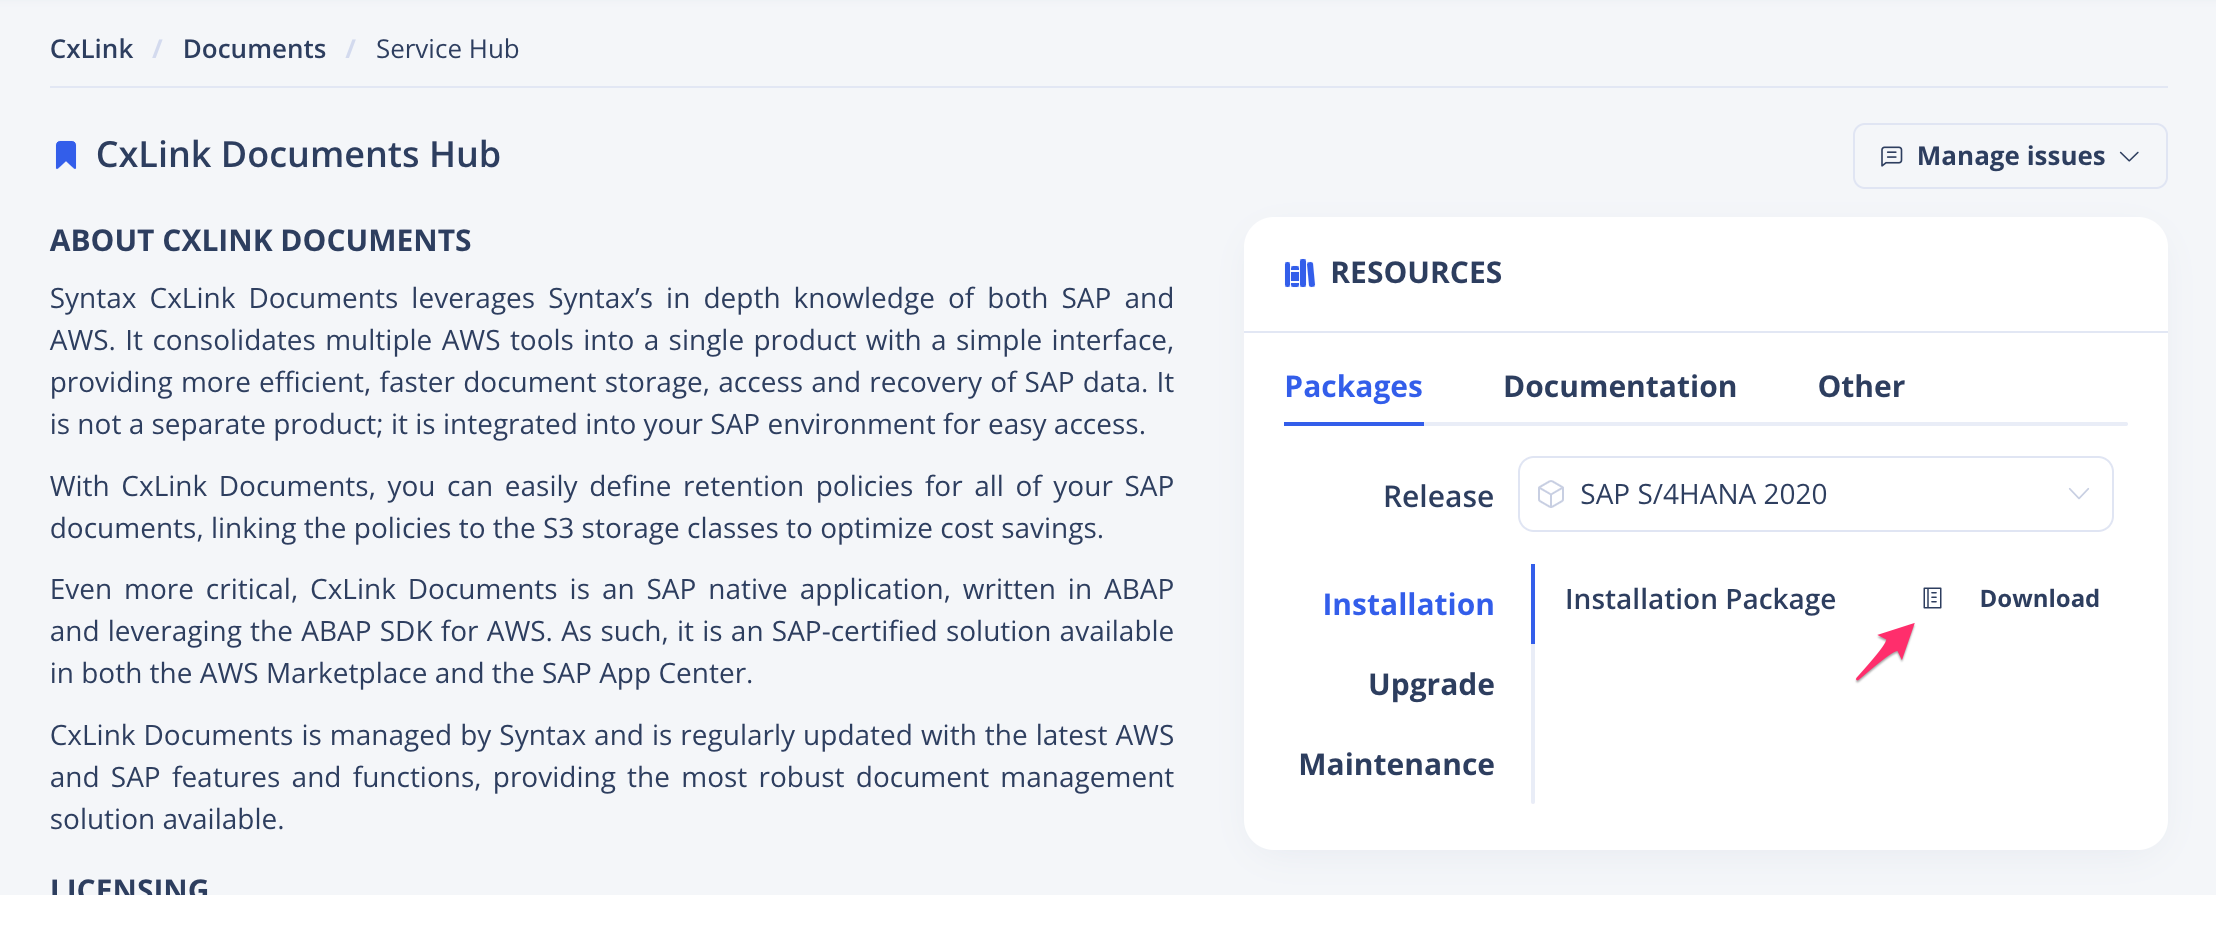
Open or download the Release Notes to find out the Installation or Upgrade Password
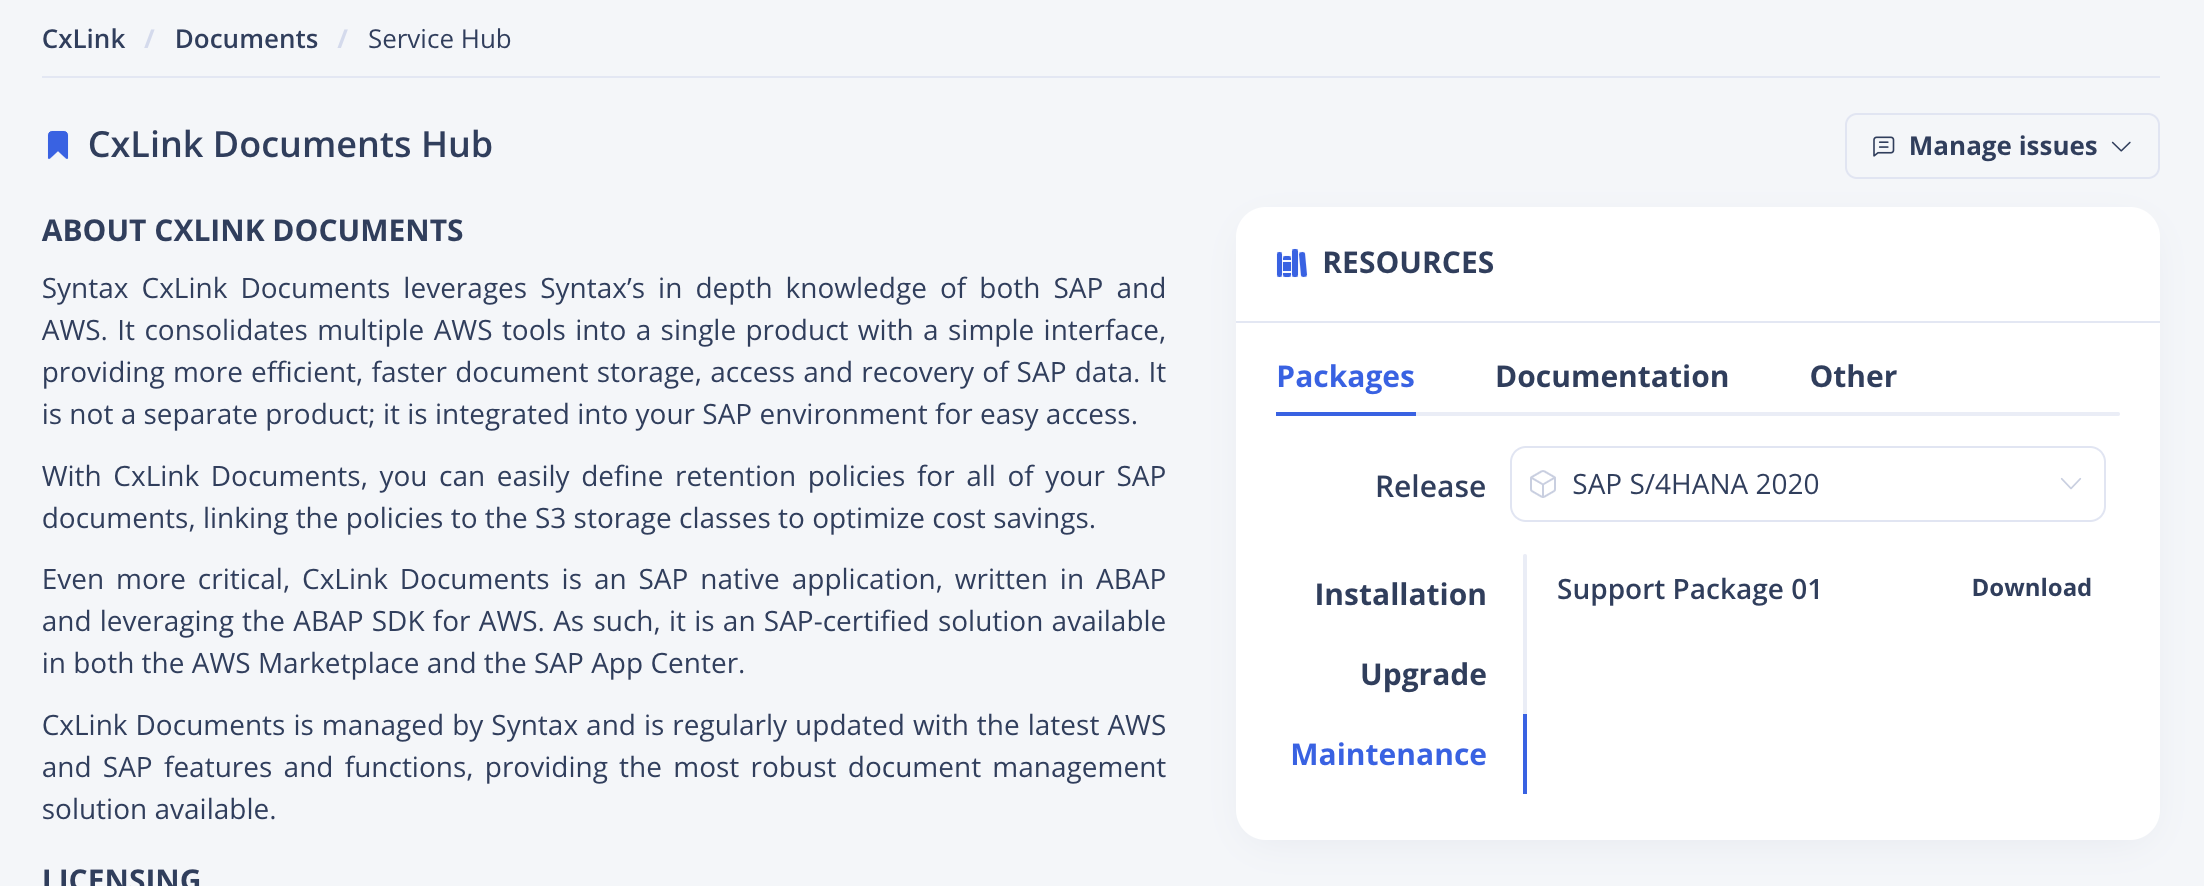
Download the available Support Packages from the Maintenance section
Install the add-on
SAP Help Page
You can find additional information in the SAP Add-On Installation Tool official documentation.
Follow the next guidelines to install the add-on in your server.
Log in to the client 000 of your SAP Server with a user with enough permissions.
Call transaction SAINT.
Load the Installation and Support Packages into your system. You can find additional information in the SAP Help Portal
Define the installation queue. Select the LNKAWS add-on package to be installed.
Leave start options as default or check those needed for your SAP server.
Install the queue. Installation starts straight after you have confirmed the start options.
Check for the logs to confirm that the add-on has been successfully installed.
Post-Installation Steps
Licensing the software
CxLink ABAP Suite use a model similar to SAP:
- You will generate a unique identified file of your SAP Server
- Your will attach that file to a free license in the CxLink Portal and obtain a new license file.
- You will upload it to your SAP Server to activate the software.
Generate unique identifier file
Log in to your SAP server
Call transaction SE38 or SA38
Select report /LNKAWS/CONNECTOR_LICENSE and press Execute or (F8)
Choose Generate License and set the proper parameters:
- In File parameter set the path where you want to save the file.
- Check Production system if the server that you want to license is the production server in your SAP landscape. Leave unchecked if it is a non-productive server (DEV, QAS, PRE, SBX...)
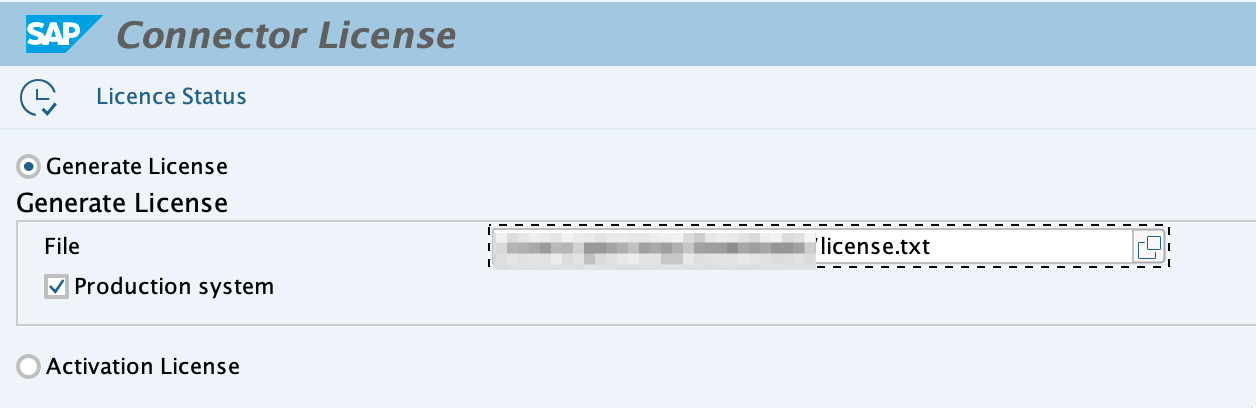
Execute or (F8)
If everything is ok, you will see a message The file has been downloaded successfully
Upload the file to CxLink Portal
Sign In to CxLink Portal
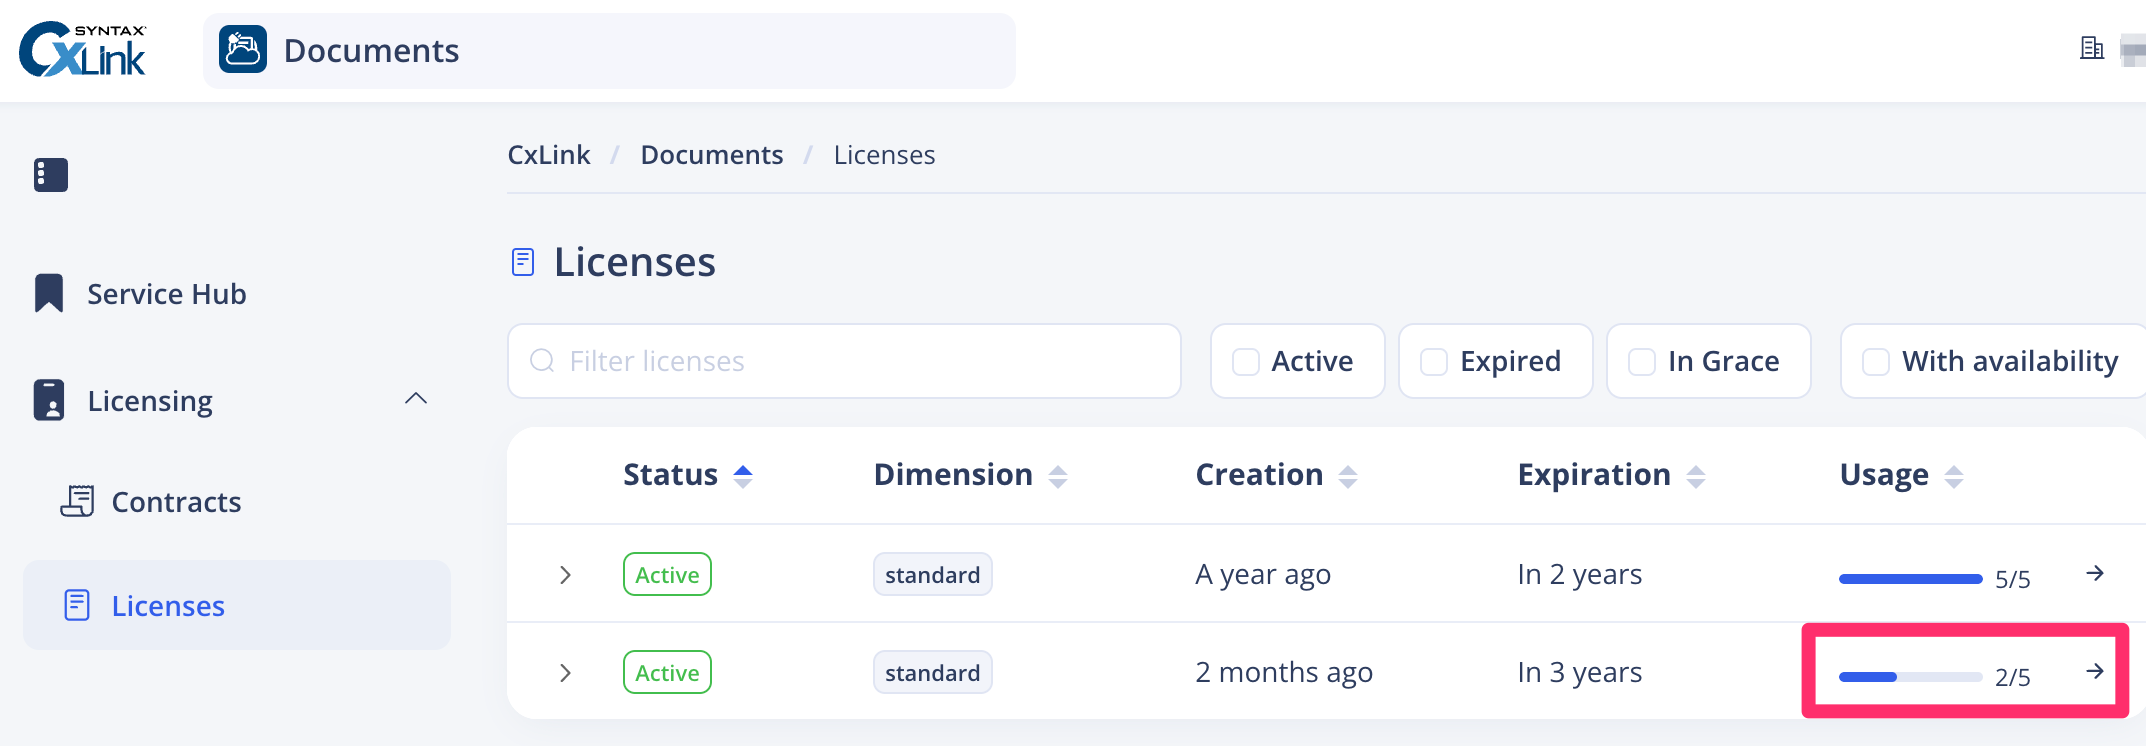
Go to [Licensing -> License] section in Documents Hub, and search for a license with free slots. (Check the Usage column to find if there are free slots available)
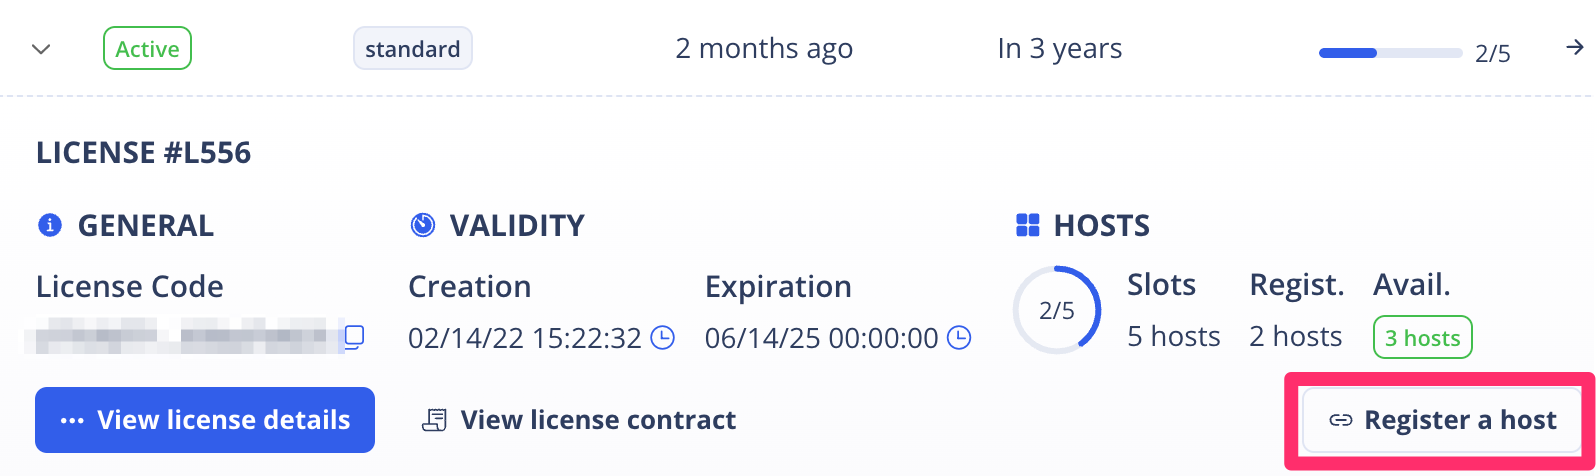
Open the license details and press Register a host
In the Pop Up displayed, upload the file previously generated.
If the file is correctly uploaded, you will see a message Host registration successfully completed
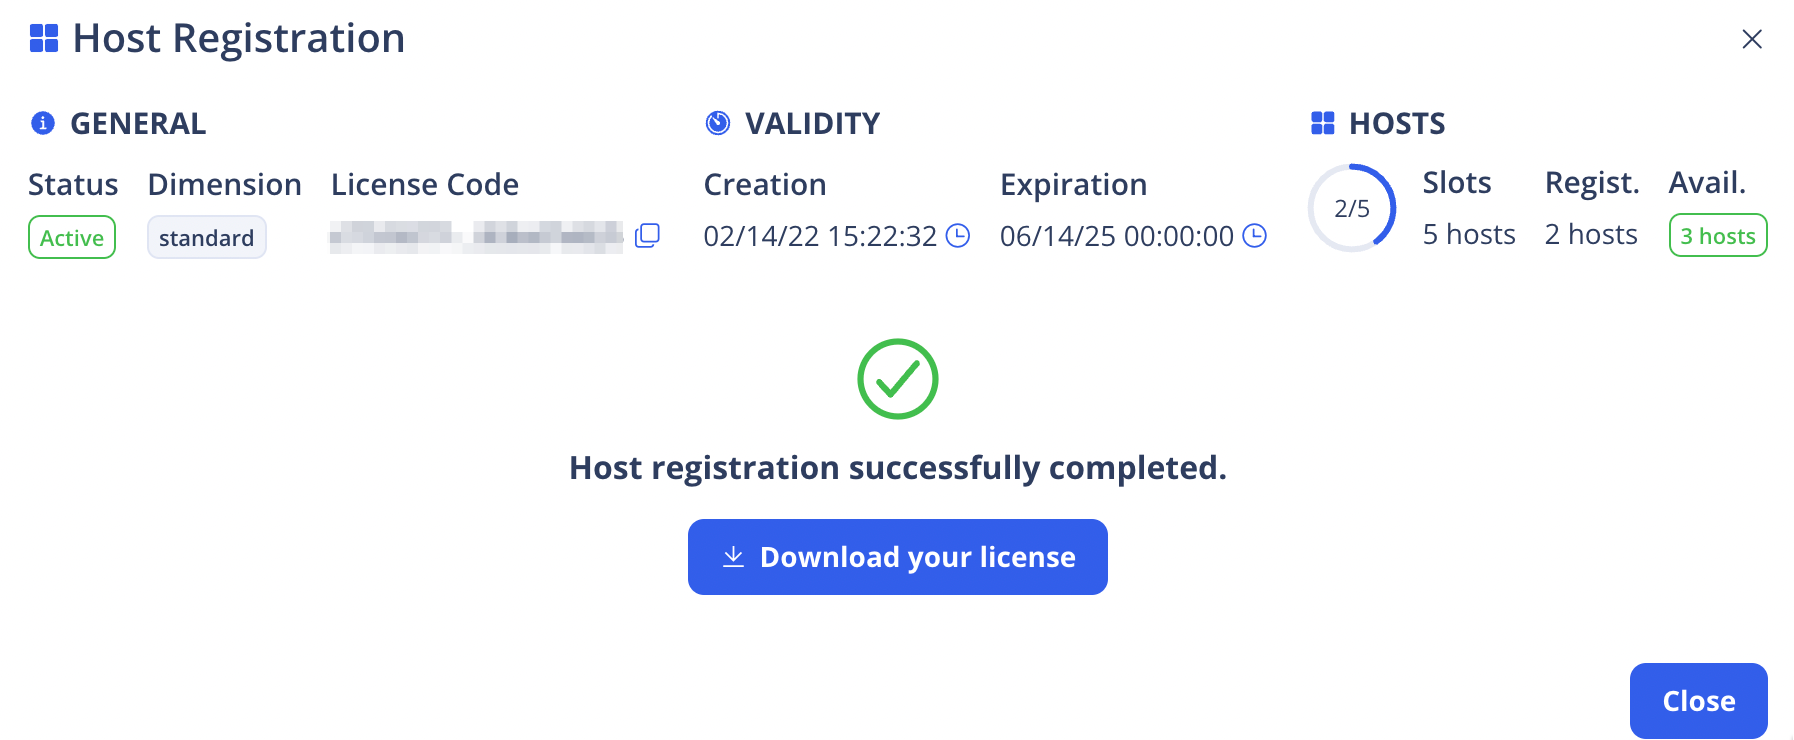
Press on Download the license to save the path to your computer.
Import new license file to your SAP server
Log in to your SAP server
Call transaction SE38 or SA38
Select report /LNKAWS/CONNECTOR_LICENSE and press Execute or (F8)
Choose Activate License and select the license file from your computer.
Execute or (F8).
If everything is ok, you will see a message Product successfully installed.
Check license status
Log in to your SAP server
Call transaction SE38 or SA38
Select report /LNKAWS/CONNECTOR_LICENSE and press Execute or (F8)
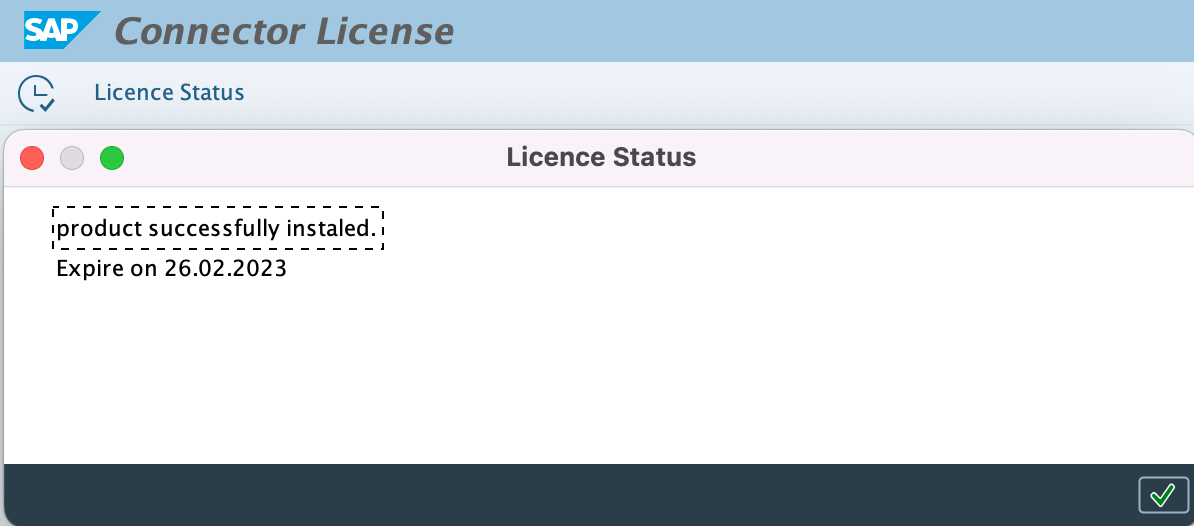
Press License Status button
You will see a message with the license status and the expiration date
Activate Webdynpro dependencies
Ensure that the following services are active and run in the SICF transaction:
Call transaction SICF
Search for the following services and Activate them if not already active:
- /default_host/sap/bc/webdynpro
- /default_host/sap/public/bc/ur
- /default_host/sap/public/bc/icons
- /default_host/sap/public/bc/icons_rtl
- /default_host/sap/public/bc/webicons
- /default_host/sap/public/bc/pictograms
- /default_host/sap/public/bc/webdynpro
- /default_host/sap/bc/webdynpro/lnkaws/wd_rocketsteam_s3
Repeat the process for all services
Define an application for the BAdI implementation
You specify the application when you create the configuration; the application links the configuration to a specific BAdI implementation. To do so:
In the SAP LT Replication Server system, in transaction
SM30, enter the table IUUC_REPL_APPL, and choose the button Maintain.On the next screen choose New Entries and enter
ZCXLINKas the name and a description of your choice.Choose Save.
The application values that you specify here will be later assigned to a configuration that wants to use the custom logic implemented here.
Create entries for Instance Profile usage
If you want to use the EC2 instance profile to get temporary credentials to access AWS services, you need to create the following entries for SAP to retrieve them:
Call SAP Maintain Table Views or transaction SM30
Maintain table /LNKAWS/CONST
Push New entries button and enter the following entries:
PROGRAM NAME - INSTANCE_PROFILE
FIELD NAME - PATH
COUNTER - 01
SIGN - I (Select specified values)
OPTIONS - EQ (Equal to).
LOW - 169.254.169.254PROGRAM NAME - INSTANCE_PROFILE
FIELD NAME - HOST
COUNTER - 01
SIGN - I (Select specified values)
OPTIONS - EQ (Equal to).
LOW - /latest/meta-data/iam/security-credentials